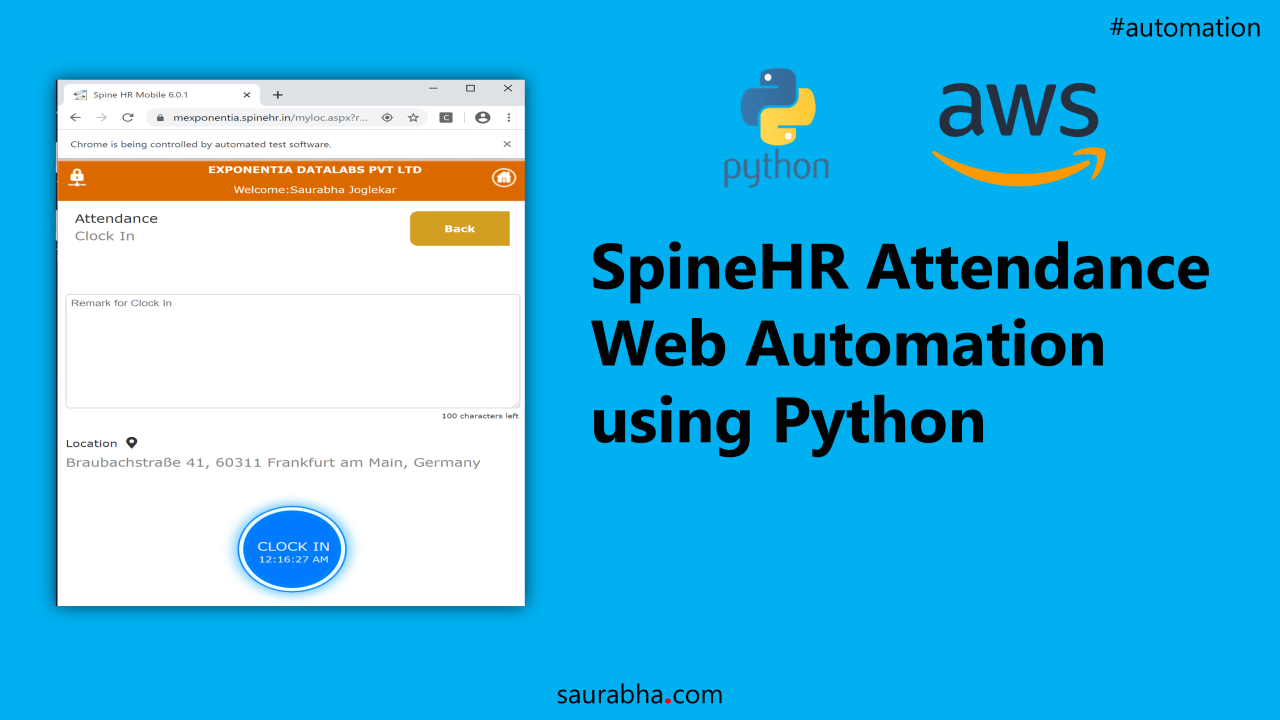
Introduction
My company Exponentia.ai uses a web-based solution developed by Spine Technologies named SpineHR as their primary HRMS(Human Resource Management System). It is a web as well as a mobile app that has a range of functions (not promoting SpineHR here 😜). One of the features of this app is marking daily IN/OUT using GPS.
Yes, you read it right. The app has a mobile website that tracks your GPS coordinates and allows you to mark IN/OUT only if your GPS is enabled. Being a techie and a lazy guy, I used to keep forgetting to mark my attendance which kept pissing off our HR.
This quarantine made me think if I could possibly automate this attendance marking process and get into the good books of our HR (I am already an HR good boy or at least I like to think that way 😛). So this curiosity led me to explore various solutions from PHP/JS to Python until I finally settled with python (that’s the one that worked 😛). So here is my solution to Web Automation using Python, Selenium and Chrome Web Driver. The toughest part was to get the GPS tweaked aka Location Spooking/ GPS Hacked.
Pre-requisites
- Download and Install python 3+ on your PC. (Alternately, you can use Anacondafor your development)
- Install selenium for python using the python command line –> pip install selenium
- Download the Chrome Webdriver tool(This will help us in our GPS hack) and place it in your coding directory
Let’s get Coding
Once you are up and ready, let get coding.
from selenium import webdriver
import selenium

#Set Location
ExpoLoc = {

    "latitude": 50.1109,

    "longitude": 8.6821,

    "accuracy": 100

}

driver = webdriver.Chrome('C:/SpineHR_Automation/chromedriver')
driver.execute_cdp_cmd("Page.setGeolocationOverride", ExpoLoc )
driver.get('https://mexponentia.spinehr.in/')
In the above code, we have done two things. Firstly, import required libraries. Secondly, setup the GPS Hack. We want to override GPS and let the program pass the coordinates to the webapp. This is accomplished using the Chrome web-driver we downloaded. Here, using the execute_cdp_cmd command, we are telling Chrome to override Location with our ExpoLoc coordinates defined above. Lat and Long of your location can be found using Google Maps.
First Hurdle : Login
Login page with Chrome Dev Tools open
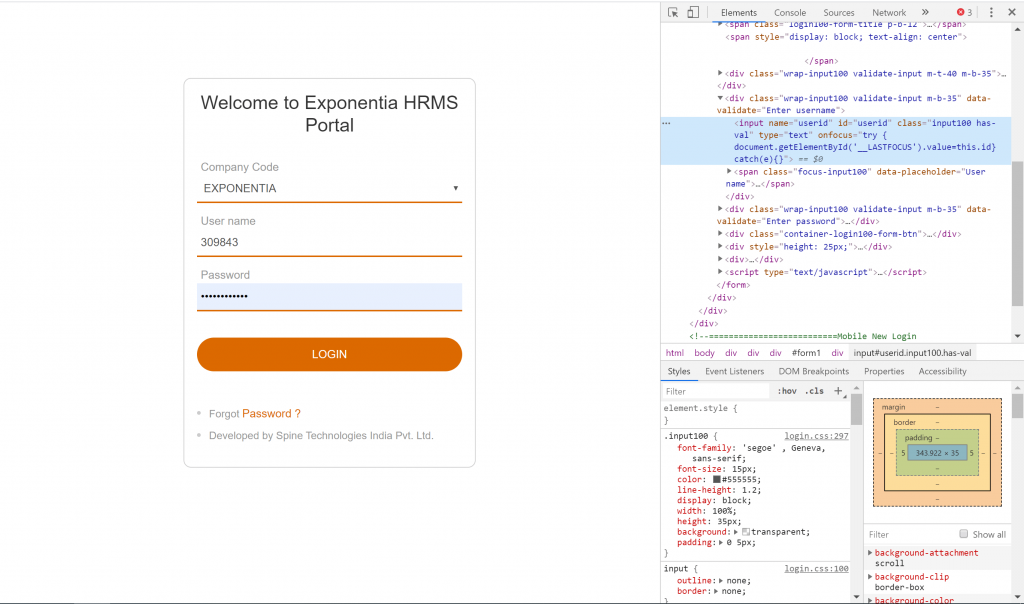
(Login page with Chrome Dev Tools open)
We first go to the website and get the id of the text-boxes so as to fill in the data and then click on the button. One can get the ids of the text boxes using DevTools (F12) in Chrome and then using Inspect element button. Code for login below.
#Create Username and Password
username = '309843'
password = 'test@123'

#Get Textbox ID
login_userid = driver.find_element_by_id('userid')
login_pass = driver.find_element_by_id('pwd')

#Enter Data
login_userid.send_keys(username)
login_pass.send_keys(password)

#Click on Button
login_button = driver.find_element_by_name('btnLogin')
login_button.click()
Second Hurdle: Inner Pages
Similarly, we hop into the next 2 pages with this code. Use the above process to get the element IDs and proceed. (Not showing in screenshots for security.)
#Get Attendence Button
class_select = driver.find_element_by_link_text('Atten.')
class_select.click()

#Get Clock In
class_select = driver.find_element_by_link_text('Clock In')
class_select.click()
Sometimes, element ID may not be available, for such instances you can use the find_element_by_link_text function to find the element by its screen display name.
Final Hurdle: Mark IN/OUT page
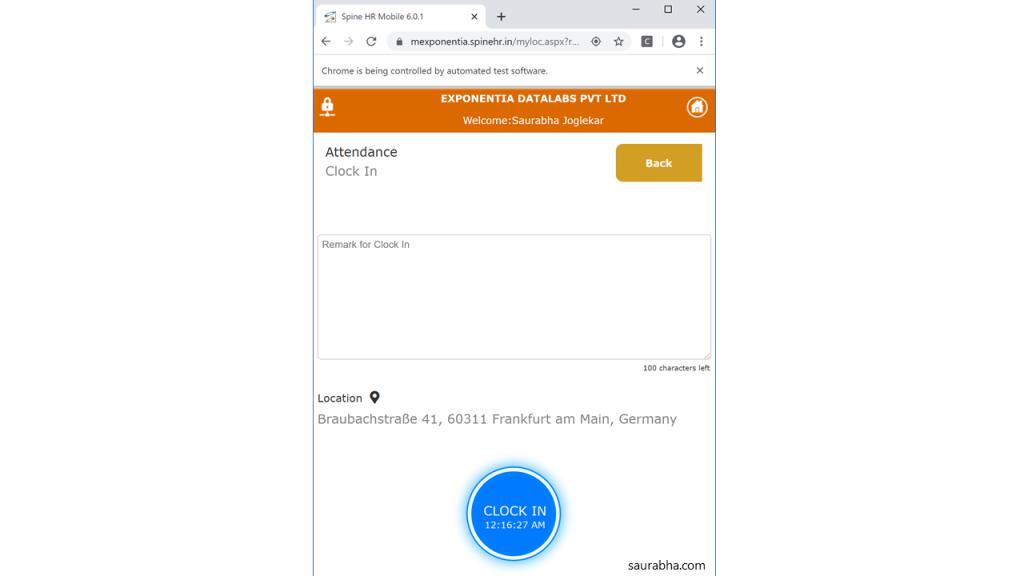
See the location in the above image, this is taken from the GPS of the device which we tweaked.
The below code continues in a similar fashion as above except for the delay function being used.
#Time Delay introduced to get Location on Screen
sleep(5)

#Time Punch --> Final Button
final_button = driver.find_element_by_id('ctl00_BodyContentPlaceHolder_btnAddNew')
final_button.click()
print('Attendence Marked')

driver.close()
print('Chrome Window Closed')
The delay is purposely introduced. I observed that it takes a few seconds for the location to get registered on the screen and hence added one before and after the click (although after the click may have been unnecessary 😅)
The AWS Automation
Once the script was ready, I registered for AWS Free Tier and spun up an EC2 Windows Server Machine and configured it with the above pre-requisites. I could keep the EC2 instance running all day for free but I thought to further optimize it. So, I wrote an AWS Lamba function in python that spins up the EC2 at a predefined time in the morning and evening, runs the python code (it is scheduled in the Windows Task Scheduler ) and then once all is done, stops the EC2 machine. #MissionAccomplished. It follows the below timeline for morning clock-in.
- 9:35 AM IST –> AWS Cloud-watch triggers Lamda which triggers EC2 to Start
- 9:27 AM IST –> EC2 is up and running
- 9:45 AM IST –> Windows Scheduler runs the python script( runs in 2 mins)
- 9:55 AM IST –> AWS Cloud-watch triggers Lamda which triggers EC2 to Stop
So here we go, Web Automation with Location Spoofing or GPS Hack successfully complete along with AWS automation. Now, I do not have to bother about my mark in – mark out any longer 😎. Hope our company HR doesn’t kill me for this😉. Sorry HR team in advance 🙏🙏🙏.
You can find the AWS part anywhere on the net, if you still need help feel free to drop me an email at me@saurabha.com